How to measure air quality with Apple Homekit, a Raspberry Pi and a Nova SDS011 sensor
Would you like to ask your iPhone “Hey Siri, what’s the air quality in the bedroom?"
Almost 2 years ago, I wrote an article about how to measure air quality with a Raspberry Pi and a Nova SDS011 sensor. One thing I struggled with back then (and which I have changed numerous times) is how to send the results to an online service that would allow me to easily display them on my iPhone. Back then, I decided to go with freeboard and dweet, but I was never too happy with that. Nevertheless, I used that setup for a while and was somewhat satisfied with it.
Recently, I’ve dived deep into the world of home automation and especially Apples Homekit. Next year, me and my fiancé will probably return to Germany where we’ve bought a house which we plan on renovating. One key thing I want to do is hooking it up with every piece of home automation I can find! I already employ a set of Arlo Ultra cameras that let me keep an eye on things now that we’re away (especially since we cannot easily travel at the moment). I also used to run iRobot Roombas but those really are not made to be left alone for over a year without maintenance.
Anyways, I’ve noticed recently (while visiting a Xiaomi store here in Beijing) that there’s a lot of cool sensors and devices available for Apples Homekit. Why not Google Assistant or Amazon Alexa? Well, these do not work well here in China. Since I cannot work on my house (yet), I thought I might still be able to try out some things that I can later then apply on a larger scale. I also own an AppleTV which I’ve figured makes things easier when it comes to Homekit.
I’m a complete rookie in this field. Although I’ve played around with electronics and software my whole life, I’ve never owned a place and therefore never saw a reason of applying anything long term. Also, the existing solutions seemed way too immature, complicated or expensive for the actual value they provide. From what I can tell so far, this has changed with the arrival of the big tech players in the market.
What got me going specifically is the Kaiterra Laser Egg, the go-to solution here in China for indoor air quality monitoring. I read that it can hook into the Homekit platform and provide values there, enabling automation, etc. Reading up on the capabilities and the extensibility of Homekit, I found the world of Homebridge. Oh boy. Especially this article got me hooked on what’s possible. Basically, Homebridge is an open system that enables you to write your own software for not yet Homekit-enabled devices. It also provides a way to connect Raspberry Pis, Arduinos, etc. to the Homekit platform, enabling you to use Siri or Automation rules on these things.
This seemed like the perfect solution for the display (and further processing!) of the sensor reading from my trusted old SDS011. So in this article, I’m going to show you how to set up your Homekit system and connect your own air quality sensor to it via a Raspberry Pi and Homebridge. Isn’t that awesome?!
Disclaimer: As always with my articles, some links are affiliate links, meaning I make a small amount if you buy anything through them. Trust me, it’s (really) not much and websites cost money.
What you’ll need
A Raspberry Pi. You can use the fancy new Model 4, although I’ve used the Model 3 B+.
As always, you’re going to need an SD card of at least class 10 and a charger that outputs sufficiently stable amps (the Model 4 apparently has a USB-C connector, so go for a new one if you buy a Model 4).
If you have a new MacBook (Pro), you’ll need an SD card reader since this very expensive piece of equipment lacks this port. I really don’t care much for that so I went for a small cheap one.
You won’t need a keyboard or mouse since the installation of the OS is pretty straightforward.
Setting up the system
Since I’ve already set up the “Home” app on my iPhone, I can’t show any screenshots how to do it. There’s plenty of tutorials available on the internet, e.g. this one. Basically, you just open it, set up a home and rooms and then add devices - it’s also pretty straightforward. I’ve added 2 homes, the one here in Beijing and the one in Germany (since I could connected the Arlo cameras to it).
I won’t go through the install process of Homebridge except for one detail. Go and do what is stated here, that’s pretty much it. Homebridge comes with its one Raspbian distribution and therefore provides the whole OS undergarments for your PI. This is really pretty convenient. One little thing though if you are working from any MacOS system (like a MacBook Pro). The recommendation is to use Etcher to write the image of Homebridge to the SD card. I’ve encountered an error where Etcher immediately stopped with a cryptic "Oops, something went wrong” error (and not much else). This Reddit thread showed the solution to this problem: Etcher needs some special permissions that you need to specifically enable. To do so, go to “System Preferences”, “Security & Privacy”:

Select “Full Disk Access” and then check “balenaEtcher”. Restart Etcher and you should be good to go.
Shove the SD card in and plug the Pi into a network cable to your router (that’s what I did - or use the Wifi setup later). Also plug in the USB connector with the SDS011. Then connect the charger and watch it boot. After a few seconds, you should be able to access to user interface by typing
http://homebridge.local/into your browser and enter admin/admin as username/password. Congratulations - your Homebridge is up and running!
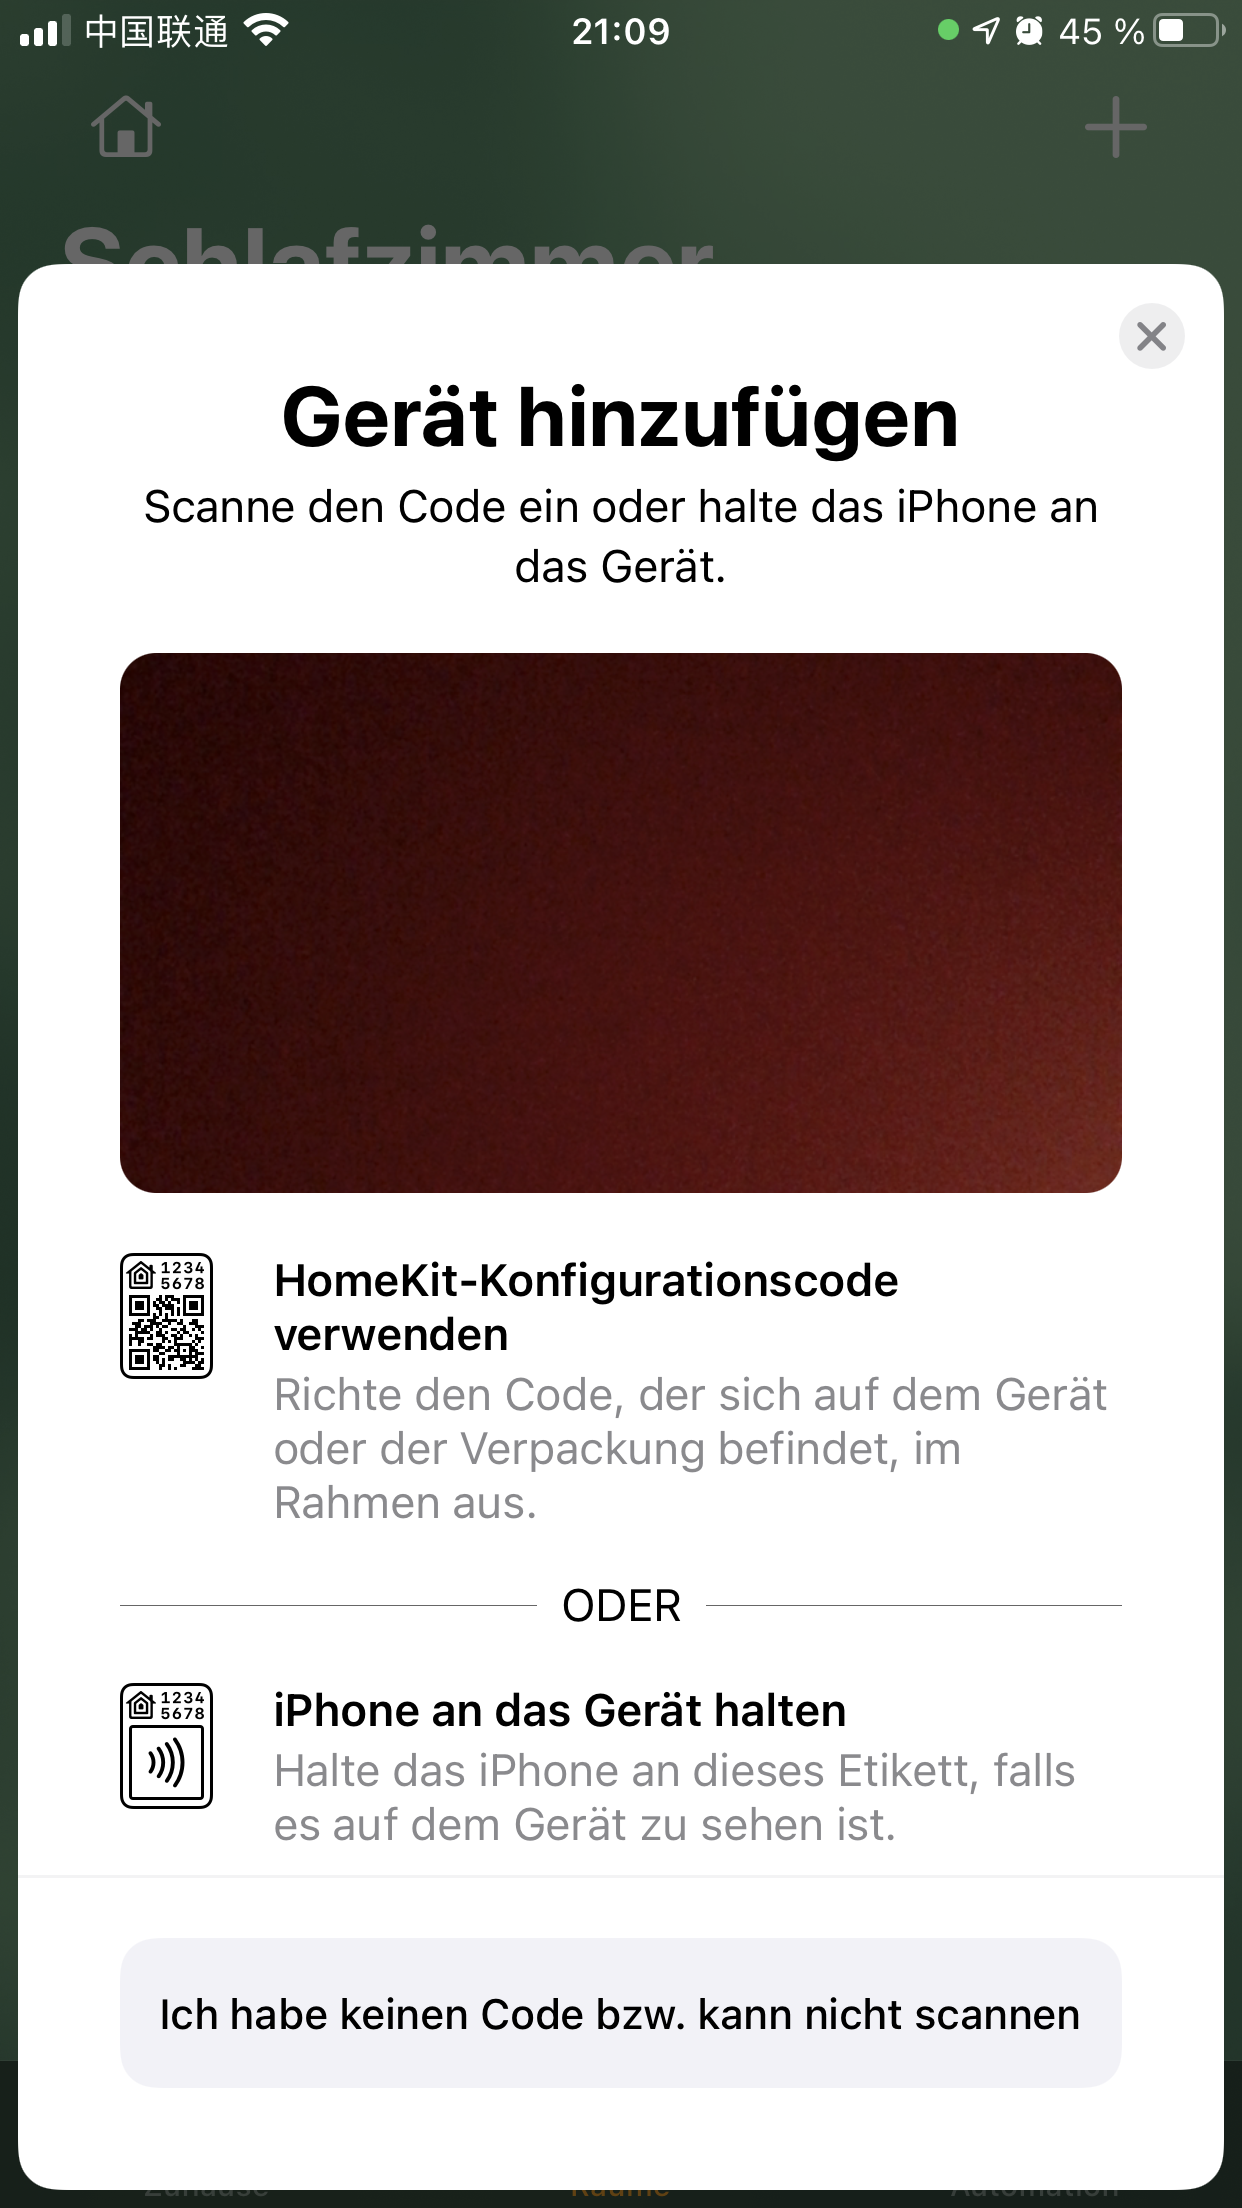
The next thing you need to do is open the Home app on your iPhone, click the little “+” on the top right and scan the huge QR code from the (TODO: Screenshots) Homebridge user interface.

That registers the bridge with your Apple Homekit. While doing so, I encountered the following error in the Homebridge log and the device didn’t register:
Error: Cannot update txt of service which is not announced yet. Received unannounced for service Homebridge C688._hap._tcp.local. at Responder.handleServiceRecordUpdate (/usr/local/lib/node_modules/homebridge/node_modules/@homebridge/ciao/src/Responder.ts:410:13) ...[10/7/2020, 13:37:09] Got SIGTERM, shutting down Homebridge... [10/7/2020, 13:37:10] ERR_SERVER_CLOSED: Cannot send packets on a closed mdns server! at MDNSServer.assertBeforeSend ... [10/7/2020, 13:37:14] [HB Supervisor] Homebridge Process Ended. Code: 143, Signal: null To get rid of it, I needed to restart the Homebridge. Problem was that I still could not add it again to the Home app: (Rough translation from German - might be slightly different for you): “Device already added. To add this device to your home, you first need to reset it”. To do so, go to the Homebridge settings (menu under the three dots on the upper right of the UI):

… and in the “Reset” section, choose “Reset Homebridge Accessory”. This is basically your failsafe once things go wrong. Executing that solved the above problem and I could add the bridge to my Home app without any more trouble.
Getting the sensor to run and display results in the Home app
As you may have noticed, although we have the bridge now connected to Homekit, the Home app is still empty. The Homebridge works like one of those base stations e.g. from Philips Hue or Arlo: it provides the connection to the cloud and to any app, in this case, only Homekit. What we need to do is add devices. We do that by adding Plugins that register accessories. Go to the “Plugin tab” and search for AQI:

The one you want is the “Homebridge Air Quality File”. Mine says “UNINSTALL” because - obviously - I’ve already installed it! Click install and let it download and register. The plugin reads values from a file and displays them. This decoupling is done (according to the author) to avoid having to run the Homebridge as sudo.
Once the plugin is installed, click “Settings” under the plugin and add 2 lines to the config file, so it looks like this:
{ "accessory": "AirQualityFile", "name": "AirQualityFile", "description": "Air quality sensor", "file_path": "/home/pi/air-quality/aqi.json" }
You can obviously change the file_path if you prefer, but I recommend you keep that since that makes things easier later when you copy my settings.
The plugin now adds an accessory (think “device” or something similar: it’s something that gets displayed in the Home app like a lightbulb or a sensor) which then can be displayed, but wait - how do we get the data into the file? We still have to write the sensor readings into the file at /home/pi/air-quality/aqi.json so that the plugin can read and display that.
Add a terminal to the UI by clicking “+” (Add Widget) and choosing “Homebridge Terminal”:


The Homebridge terminal is a linux console - all we need to set the final things up.
Go to the console and change the folder to /home/pi/
Add a new folder with
mkdir air-qualityDownload my little python script that reads the sensor data and puts it into the file for the plugin to read. The script is a newer version of the one I’ve coded for the last article. I’ve replaced a lot of code by using the py-sds011 library. Your can either download it to the folder by using
wget https://www.dropbox.com/s/kg2ppd8ew3peecm/aqi_homebridge.py?dl=1 or copy it via scp from your local computer with
scp aqi_homebridge.py pi@homebridge.local:/home/pi/air-qualityRemember, the user and password for the Raspberry Pi is almost always pi/raspberry
Next, we need to install some software and libraries - but don’t worry, that’s rather painless.
First, install pip3:
sudo apt install python3-pipNext, we install some python packages:
pip3 install python-aqipip3 install py-sds011You can now start the script in the air-quality folder by typing
python3 aqi_homebridge.pyRemember: If you changed the path, you need to edit the script and change it there too! The script should now start up and data should be readable in the “Accessories” tab! It should also now immediately be visible in your iPhone or MacOS Home app.
That’s it! You should now be able to ask Siri things like “How’s the air quality in my bedroom?” or whatever you named the room the device is in!
Make the script run automatically on the Homebridge
Once you leave the tab with the console or the system restarts, the script gets killed. To have it run automatically when you plug the charger into the Homebridge Raspberry Pi, we need to add a cronjob.
In the console window, open up Crontab to get into the configuration file:
crontab -eScroll to the bottom of the page and add the following line:
@reboot python3 /home/pi/air-quality/aqi_homebridge.pyRemember (again) that if you changed the path of the script, you need to adapt this command too! Restart the system and now things should update automatically.
My conclusions on running the air quality sensor on Homebridge
This is a first project I did with Homekit and Homebridge specifically. I’m impressed how fast I got somewhere and how stable this whole thing appears to be. I like the extendibility of the Homebridge and the possibilities now opened to me by the “Automation” functions - although I didn’t even get started on those. These seem to be more advanced than IFTTT. For example, I always hated that I could not enter conditions in IFTTT rules (e.g. “turn off the lights when I leave the apartment but only if I’m the last person to leave”). Things like that seem to be easier in Homekit, especially location based things and the integration of other users. The tech is very promising and I can see myself integrating a lot of different devices into this over time.
Some things I didn’t like that much:
There is no graph available for the data. I really like to see how the AQI values developed over time. This might be an issue of the plugin and maybe I can code something more sophisticated - but I have doubts. I did not yet see the possibility of graph visualization in the Homekit per se.
I tried to also add data from the SenseHat (temperature, humidity, etc.). for my Raspberry Pi. This got me nowhere, after messing around with pyserial, rtimulib, etc. I ran into serious trouble. When I have some time, I’ll take a look at that and maybe extend the script to provide that too.
Some things I want to try out:
How to get notified that the air quality is not good? I thought about a red lamp in the bedroom or something like that! I don’t have a good idea yet, but this is definitely one of the next things.
How to access this whole shebang from the outside? I think I understood that the AppleTV serves as some kind of hub into iCloud. I have not been able to access this though outside my WiFi. This does not mean this is not possible - again, I’m a total rookie in this technology.
I have quite some Xiaomi tech (e.g. air humidifiers and air purifiers in various generations). Can I integrate those somehow?
What’s the best physical setup for this? A dedicated wired network? A dedicated wireless one? I need to wire up a whole (old) house next year, what’s the best way to do that with home automation in mind? Do I need one Homebridge and then connect e.g. Arduinos with a sensor/actuator to it? Do I need many? No idea - let’s find out!